*We'll come back to that.
I have previously posted on my inspiration and mock-ups, if you'd like to read the whole saga. I finally cut out the real thing on Saturday, feeling rather trepidatious because I had four yards of fabric and my Butterick B6337 pattern called for 4.25 yards for the jacket and skirt, but didn't tell me how many yards were needed for just the jacket. And I was replacing the skirt with Truly Victorian TVE30, which called for 2.5 yards all by itself. After trying on my mock-ups, I shortened the skirt by 2" and the jacket by 3", but I was still worried this would not be enough fabric. I measured the full length of my largest skirt pattern piece (taking into account the 2" shortening) and found that I needed at least 43" of yardage to cut out one. I doubled this, added a few inches of "sluff" and measured up from one end of my total fabric, marked here with a pin:

I kept this end of the yardage folded up as I arranged and re-arranged (and re-arranged, and re-arranged) the pattern pieces for the jacket on the remaining fabric. I finally settled on a layout that would maximize the material and get all of the main jacket pieces cut out:
 |
| I do this so often it's practically an art form at this point. |
After cutting out the jacket, which pushed the boundary I had set with my pin, I folded the remaining yardage in half and measured what was left:
 |
| Oooh, it's gonna be squeaky! |
For the collar and cuffs themselves, I ended up piecing scraps of velvet, because none of the pieces I had were large enough to cut out any of the pattern pieces. (Why do I keep small, "useless" scraps of fabrics? [I actually think that I bought these scraps from a bargain fabric table.] Well, a burn test revealed that this velvet was, in fact, silk! And I think the results are worth it.) But first I needed to press the velvet, because my scraps were VERY wrinkled. How does one press velvet, you ask? Well, ideally one has a needle-board, but I do not, so I used a towel, which is the next best thing:
 |
| I tested the heat setting of my iron - I used the wool setting - on a very small scrap. Important: Press on the back side! |

And after:
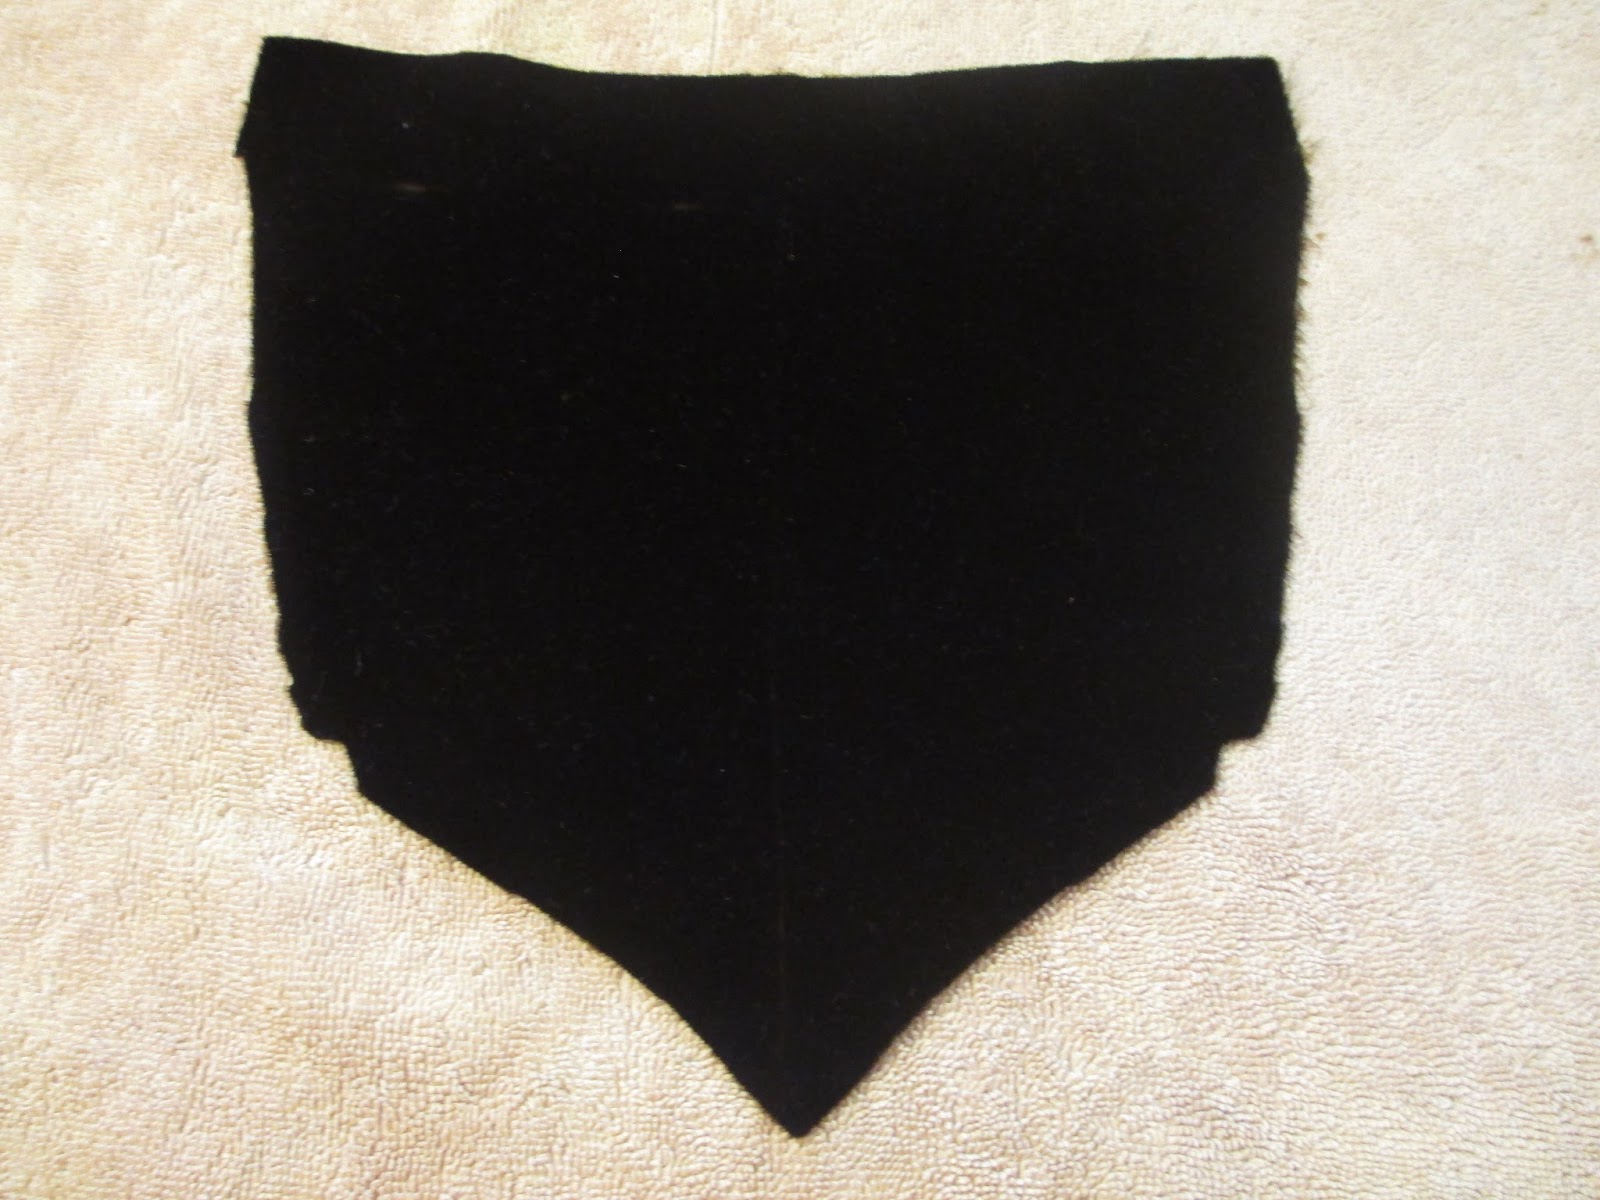
I pieced these three scraps together for the collar, which worked out nicely because I really didn't want a seam at the center back:

I made sure all three pieces were facing the same direction so that the pile would line up properly, then pulled threads to get the straight of grain for my seam lines:

All assembled:

And now I had a big enough piece to cut out the collar!


I carefully basted the pleats together in two rows before attaching them to the upper part of the skirt, then removed the lower basting line shown above.
I got the skirt done (well, done enough - I used safety pins for the closure) at around 2:00 AM, but the jacket still had no lining and no sleeves. I contemplated going to bed then, and just wearing the skirt with my white blouse and a Votes For Women rosette. However, it is November, and I figured it would be somewhat chilly in the morning when I went to vote. Besides, I really wanted to wear the full ensemble, especially after all the trouble I had gone through to piece the velvet collar. So I powered through, making some minor concessions to my own standards of quality, such as pressing seams and hemming things properly. And instead of cutting out a proper lining from actual lining material, I simply used the corresponding parts of my mock-up, which was already sewn together. This saved a lot of time! I also left out the sleeve linings (and the cuffs) and instead of following the pattern directions for hemming invisibly and hand-stitching the lining hem on top, I simply stitched the lining to the outer fabric all along the hem, turned and pressed the hem, and top-stitched 1/4" from the edge all the way around.
Then, before I crashed for four hours of sleep, I quickly whipped up my Votes For Women rosette. I had purchased five yards each of purple, white, and green grosgrain ribbon from Maple Creek Company on Etsy in different widths - 5/8", 1 1/2", and 7/8", respectively.

I layered these on top of each other to create a long, striped single ribbon:
 |
| I only sewed two of the five total yards together, which turned out to be plenty. |

I very carefully stitched across the pleats around the inside of the circle by machine, because I had no time or energy to do it by hand. Then I traced a circle onto white card stock, cut it out and wrote the slogan on it first in pencil:

Then traced over it with black Sharpie. I used a big piece of packing tape to attach it to the rosette:

All done!

For my hat, I re-trimmed a purple wool cloche I already had:

First I had to remove the black velour bow, which was already coming loose anyway:

I had also purchased two yards of 1 1/2" wide green-and-white striped grosgrain ribbon for the new trim, from one of my favorite Etsy shops - Vintage Ribbons:

This is the design I came up with:
 |
| I trimmed away the excess when I stitched it down. |
I know I've already shared photos of the full ensemble, but here it is again:
 |
| I wore my white button-down shirt that I've previously worn as Amy Pond, and made a faux tie from a doubled-up length of brown grosgrain ribbon. |
 |
| Ladies Home Journal, March 1913 |
I still plan to add the contrasting cuffs (as well as sleeve linings) and the front belt-type thing with the buttons. For today, I closed the jacket with safety pins.
Oh, and I tried to make my ensemble as accurate as possible for a #1916suffragette, as I wanted to portray someone from exactly 100 years ago - when the right to vote for women was still four years away. I know my inspiration outfit is from 1913, but as I still have (and wear) clothing that I bought/made three years ago, I feel confident that a suffragette of my age and means would have, too.
No comments:
Post a Comment