 |
| Ignore the rulers (for now) |
Perfect. This will take hardly any work at all. :)
 |
| Ok, back to the rulers. |
First, I measured from my waist to the floor and added what I considered to be a decent length for a short train. (In the bridal industry, it would be called a "court" train.) I measured that distance up from the bottom of the short ruffle shown at the top of the above picture, and marked a short line across the middle of the white area. The ruler halfway down the side is measuring the exact halfway point of the white part.
 |
| See that faint blue line there? |
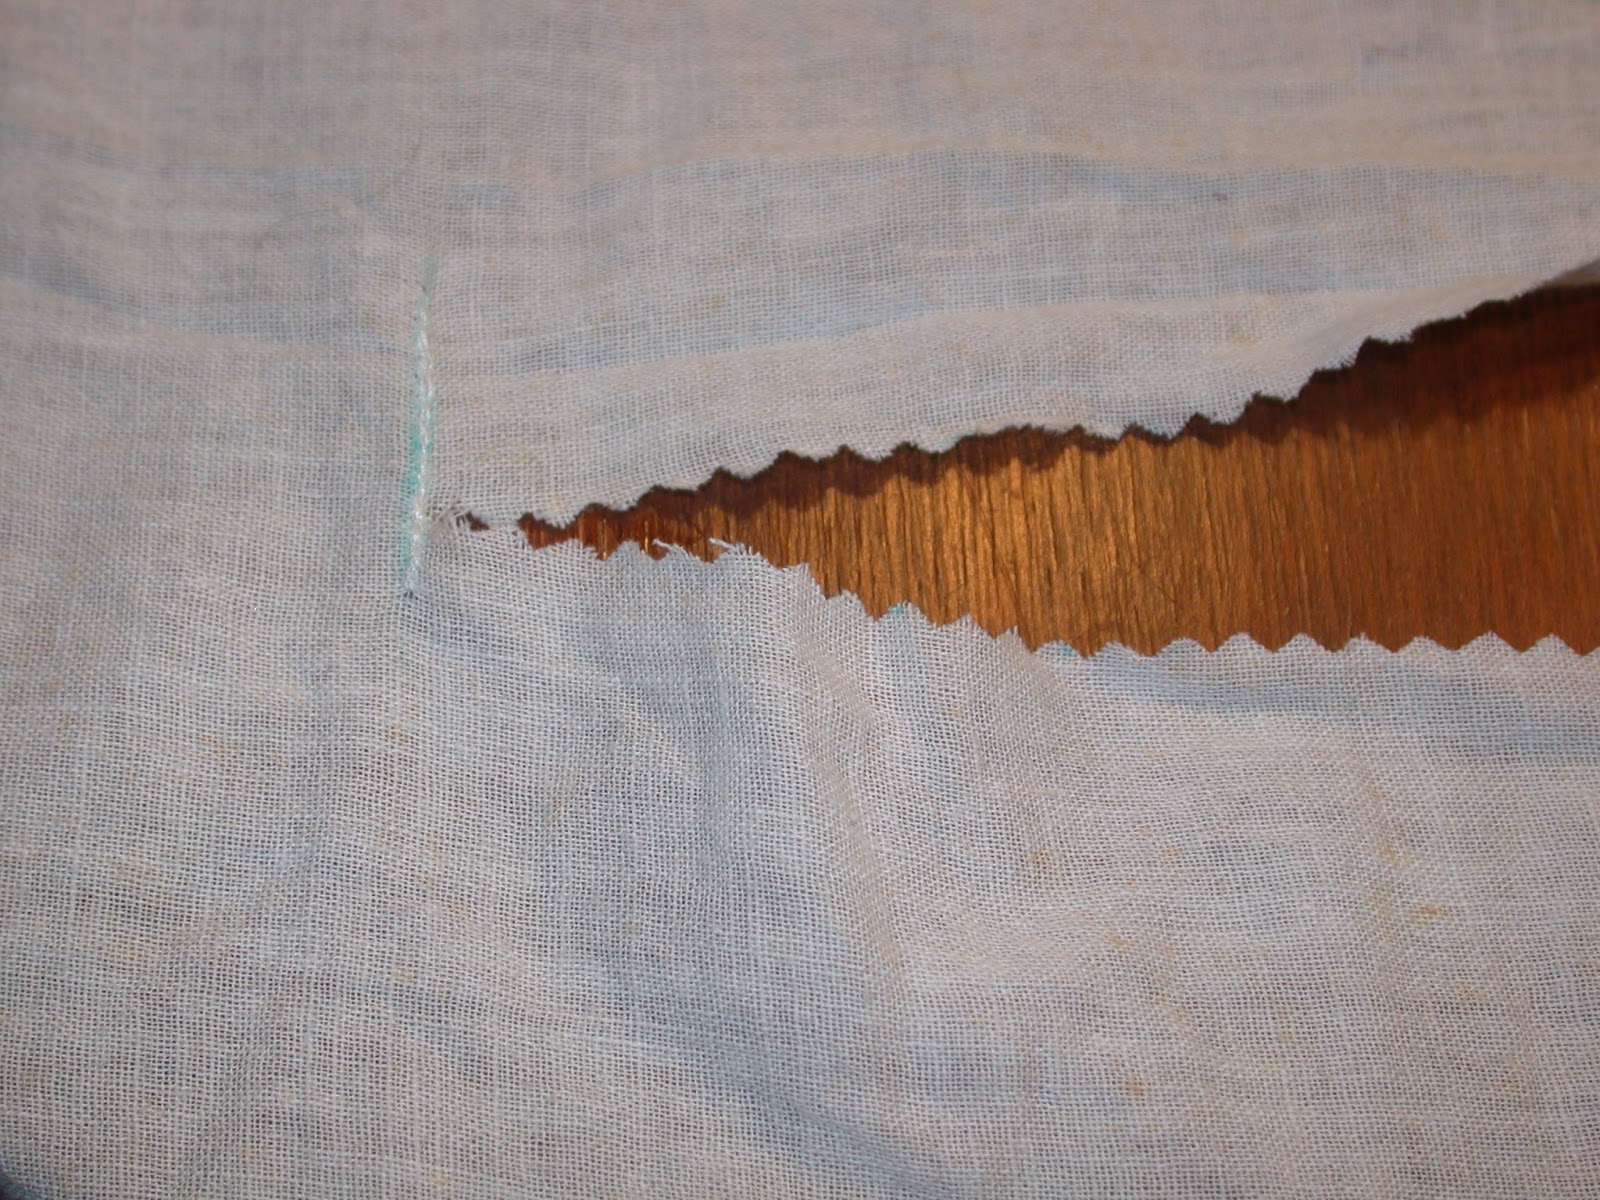
Using my pinking shears, I cut down the center until I got to the stay-stitched line, so imagine this:

With me so far?

Now I had a circle where there was once a long slit. Starting approximately where my hip bones would end up when I wear the skirt, I pinned knife pleats pointing away from the center front, and pinned the whole thing to my bias tape waistband.
 |
| Side note: how old is this bias tape if it once sold for 45 cents? Also, it's no longer quite white. :p |
How about some pics on my trusty dress form?
 |
| Front |
 |
| Side angle with train |
 |
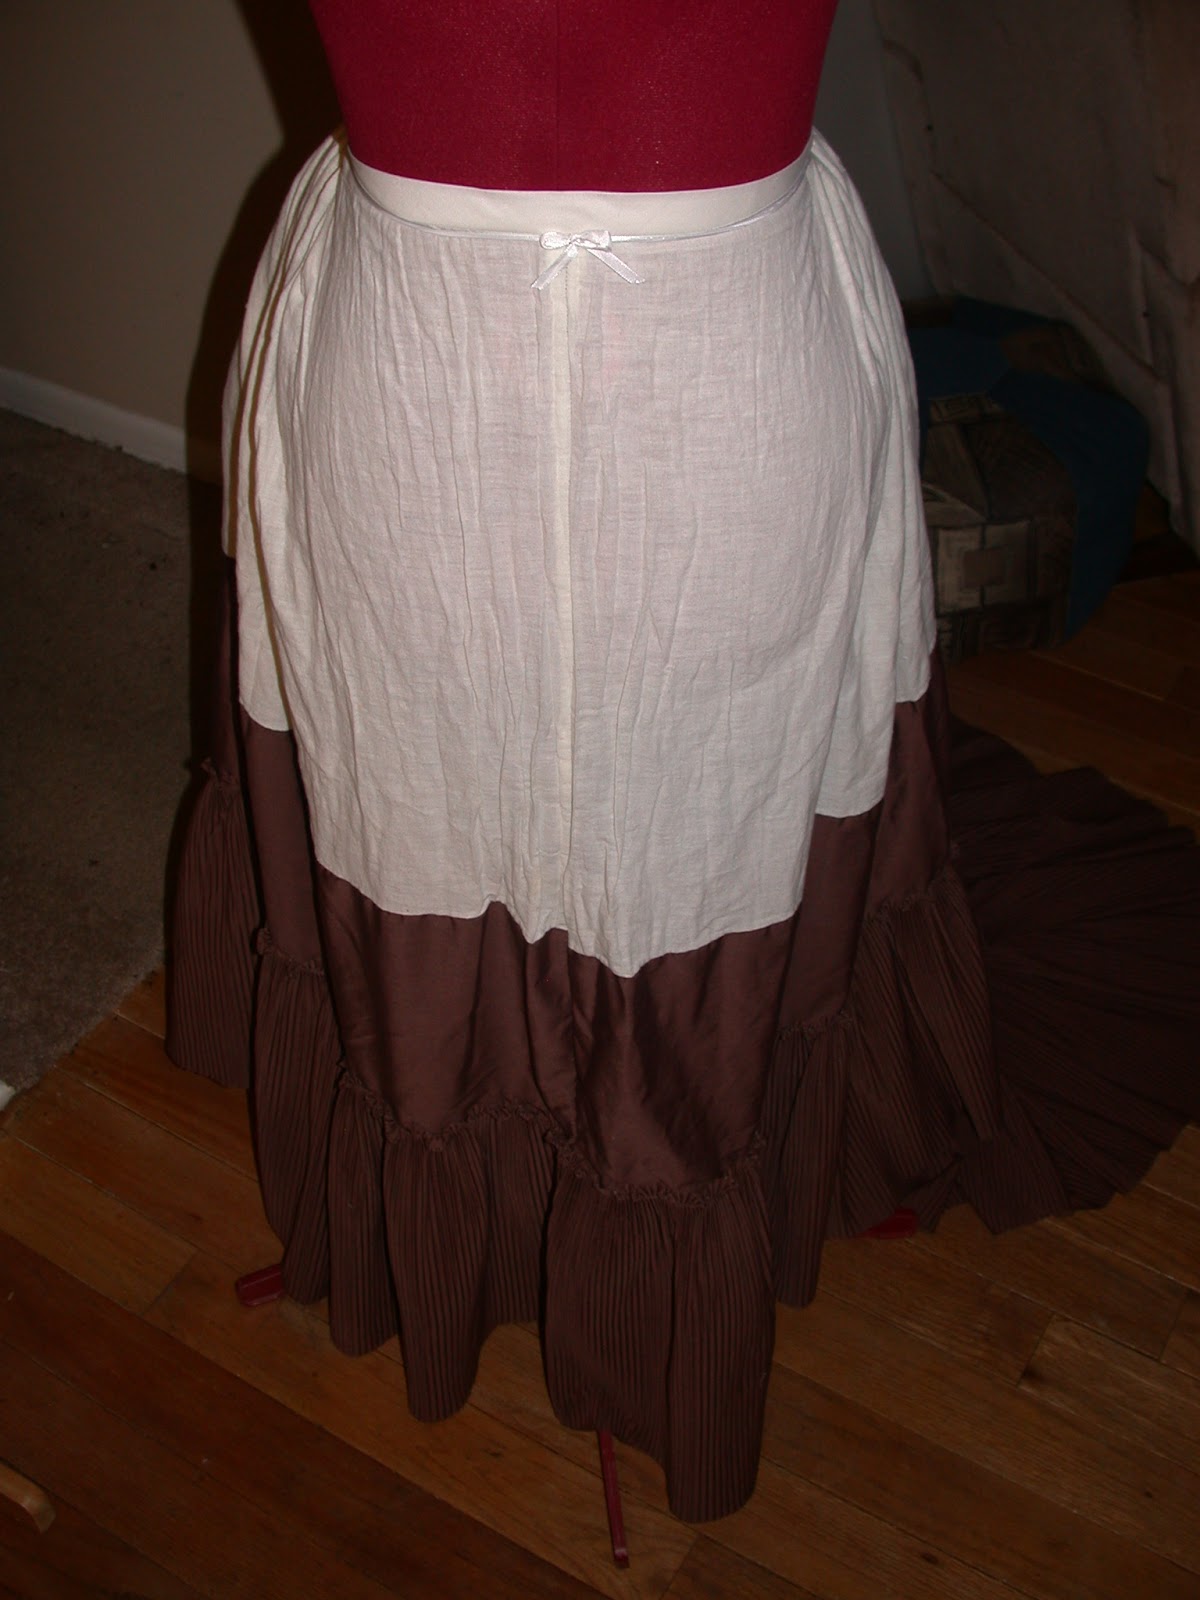
| Back |
Detail shots!

I was inspired by 18th Century petticoats in their construction that allows them to be worn over smaller or larger side panniers. I adapted the technique to make the back of my skirt adjustable for different-sized bustles!

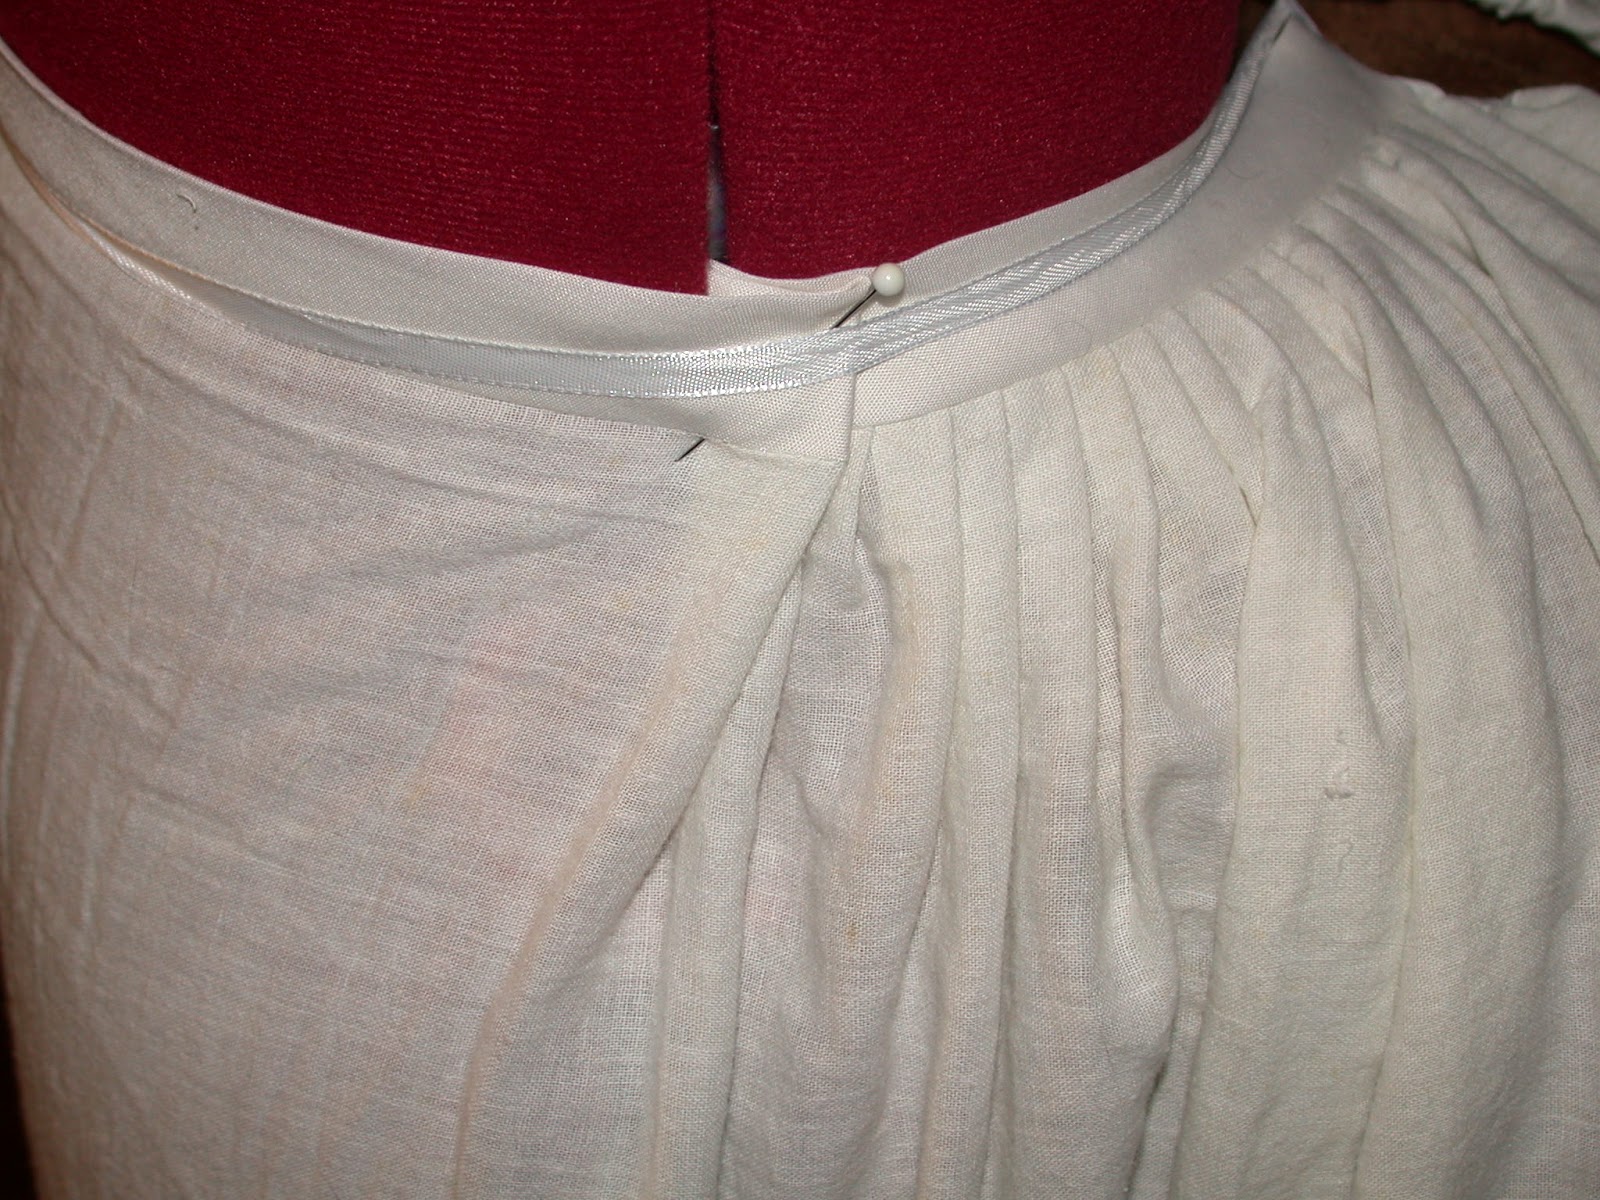
I slightly miscalculated the length of the bias tape for my waistband, and it was too large. I solved this temporarily by tucking and pinning it on either side. This will be fixed permanently before I wear it as a costume.

I also pinned up the sides in the back, playing with the train to make it fall a little nicer. I might add some ties to make it adjustable, in the future.
Looking through the other hidden treasures recovered from my parents' old house, I anticipate several upcoming projects and blog posts featuring them. Stay tuned!
No comments:
Post a Comment